Lesson 6: Inserting Images in HTML
Learn to enhance your web pages with images using various techniques - from basic insertion to responsive design
Start LearningUnderstanding Images in HTML
Images bring visual appeal and context to your web pages, making them more engaging and informative. HTML provides the <img> tag to embed images:
Image File Formats
Different image formats serve different purposes on the web:
| Format | Extension | Best For | Features |
|---|---|---|---|
| JPEG | .jpg, .jpeg | Photographs | Lossy compression, millions of colors |
| PNG | .png | Graphics with transparency | Lossless compression, transparency support |
| GIF | .gif | Simple animations | Limited colors (256), supports animation |
| SVG | .svg | Scalable vector graphics | Resolution independent, small file size |
| WebP | .webp | Modern web images | Excellent compression, transparency, animation |
Essential Image Attributes

srcSpecifies image source (path or URL)
altAlternative text for accessibility

width & heightSet image dimensions

titleTooltip text on hover
Basic Image Insertion
To insert an image, use the <img> tag with the src attribute pointing to your image file.
Simple Image Example
The most basic way to add an image to your page:
<!DOCTYPE html>
<html>
<head>
    <title>Image Example</title>
</head>
<body>
    <h1>My Favorite Landscape</h1>
    <img src="landscape.jpg" alt="Beautiful mountain landscape">
</body>
</html>
Result:
My Favorite Landscape
Image with Dimensions
Control image size using the width and height attributes:
<img src="profile.jpg" alt="User profile photo" width="200" height="200">
<img src="thumbnail.jpg" alt="Product thumbnail" width="150" height="100">
Result:
Image Alignment and Styling
Control how images interact with surrounding text using alignment attributes.
Image Alignment
Align images to the left, right, or center:
<!-- Left alignment -->
<img src="photo.jpg" alt="Left aligned" align="left">

<!-- Right alignment -->
<img src="photo.jpg" alt="Right aligned" align="right">

<!-- Center alignment -->
<div style="text-align:center">
    <img src="photo.jpg" alt="Centered image">
</div>
Result:
Left Alignment
This text wraps around the left-aligned image. Notice how the content flows to the right of the image. This technique is useful for creating magazine-style layouts where images complement the text they relate to.
Right Alignment
This text wraps around the right-aligned image. Right-aligned images are often used for captions, side notes, or when you want to create visual balance in your layout. The text flows naturally around the image creating a professional look.
Center Alignment
Centered images are great for showcasing important visuals that should stand alone.
Background Images
Set images as backgrounds for your entire page or specific elements.
Page Background Image
Set a background image for the entire page:
<!DOCTYPE html>
<html>
<head>
    <title>Background Image</title>
</head>
<body background="texture.jpg">
    <h1>Welcome to My Website</h1>
    <p>This page has a textured background.</p>
</body>
</html>
Result:
Welcome to My Website
This page has a textured background that adds visual interest without distracting from the content.
Element Background Image
Apply background images to specific elements:
<div style="background-image:url('pattern.png');
            padding:20px;
            border:1px solid #ccc;">
    <h2>Section with Background</h2>
    <p>This section has a patterned background.</p>
</div>
Result:
Section with Background
This section has a patterned background that creates visual separation from the rest of the content.
Interactive Image Playground
Experiment with different image properties in real-time:
Image Configuration
Result Preview
This is sample text that will wrap around the image based on the alignment you choose. Notice how the text flows differently depending on whether the image is aligned left, right, or center. This interactive demo lets you see the effect of different image properties in real-time.
Continue typing additional text to see how it wraps around the image. You can adjust the width and alignment to see how it affects the layout. The border option adds a visual frame around the image, which can help it stand out from the background.
HTML Code
<img src="https://via.placeholder.com/400x300/3498DB/FFFFFF?text=Landscape"
     alt="Sample image"
     style="width:300px; float:left;">
Complete Example: Image Gallery
<!DOCTYPE html>
<html>
<head>
<title>Image Gallery</title>
<style>
.gallery {
display: grid;
grid-template-columns: repeat(auto-fill, minmax(250px, 1fr));
gap: 20px;
padding: 20px;
}
.gallery-item {
border: 1px solid #ddd;
border-radius: 8px;
overflow: hidden;
box-shadow: 0 2px 5px rgba(0,0,0,0.1);
}
.gallery-item img {
width: 100%;
height: 200px;
object-fit: cover;
display: block;
}
.gallery-caption {
padding: 15px;
text-align: center;
background: #f9f9f9;
}
</style>
</head>
<body>
<h1 align="center"><font color="#d35400">Nature Image Gallery</font></h1>
<div class="gallery">
<div class="gallery-item">
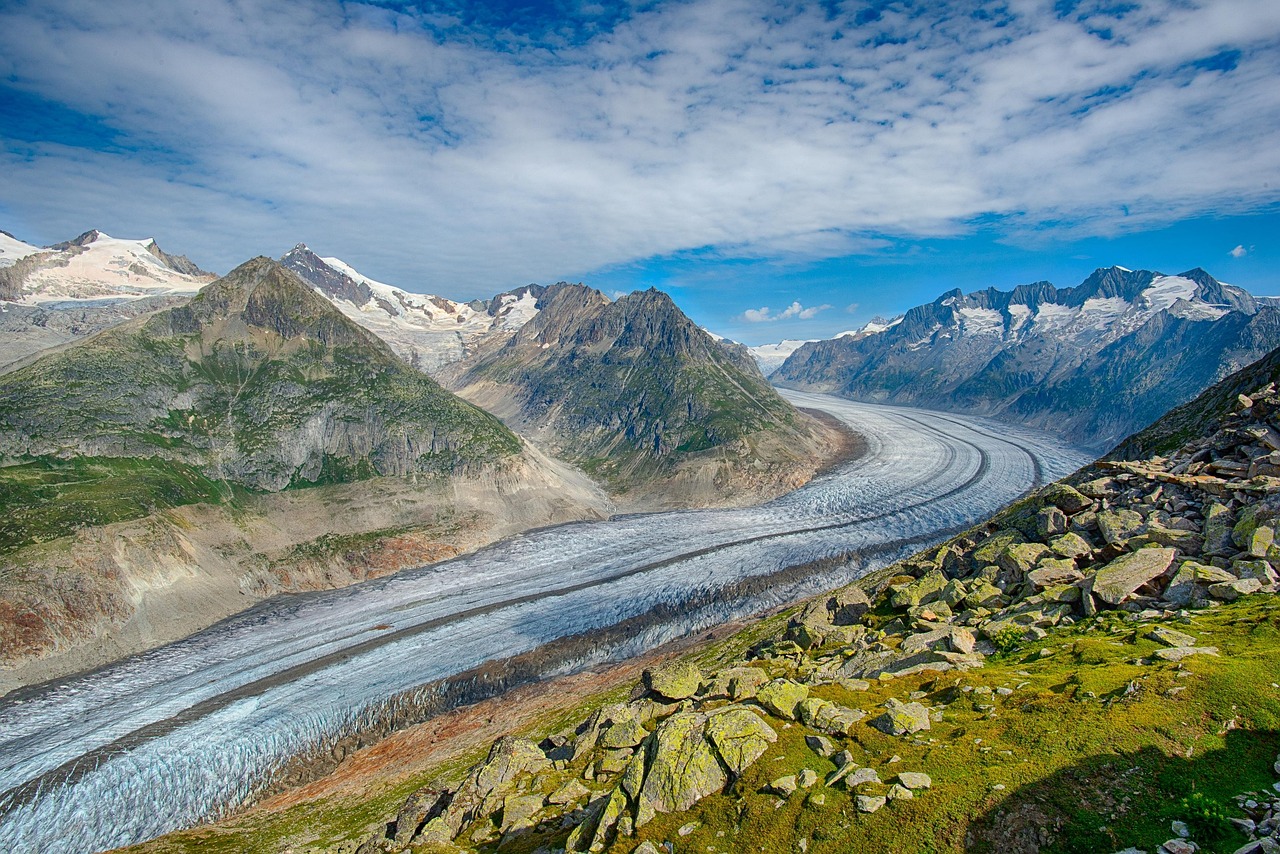
<img src="mountains.jpg" alt="Mountain landscape">
<div class="gallery-caption">Mountain Landscape</div>
</div>
<div class="gallery-item">
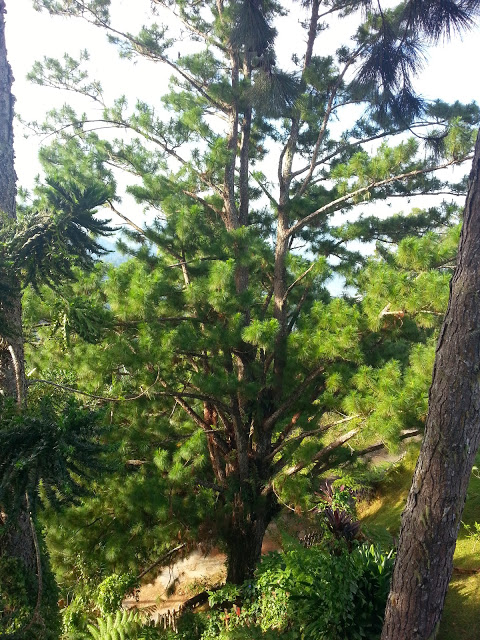
<img src="forest.jpg" alt="Dense forest">
<div class="gallery-caption">Forest Path</div>
</div>
<div class="gallery-item">
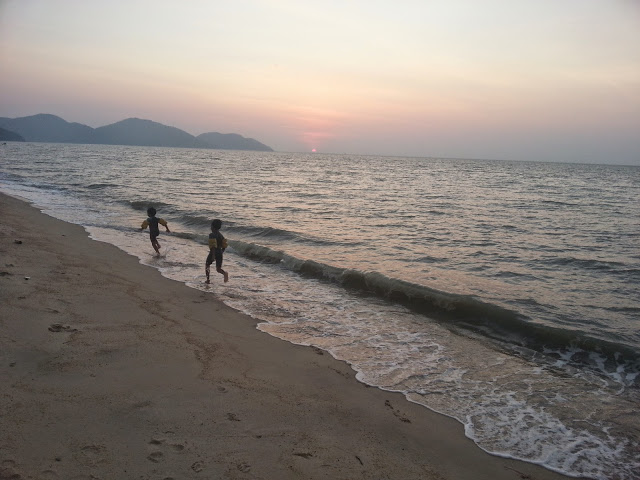
<img src="beach.jpg" alt="Sandy beach">
<div class="gallery-caption">Sandy Beach</div>
</div>
<div class="gallery-item">
<img src="lake.jpg" alt="Calm lake">
<div class="gallery-caption">Calm Lake</div>
</div>
</div>
</body>
</html>